

Looking to add a little sparkle to your holiday gift giving? Then these fun hair fascinators are for you. I originally delved into the world of hair fascinators as a fun way to be found across the convention floor. You can make them low-key for every day wear or, like me, as something fancy for special occasions. No matter which way you choose, in a single afternoon, you can craft several for your holiday giving needs.
Sparkly Hair Fascinators
Skill level – Beginners and up
 What you’ll need

- Scissors
- 6″ x 6″ piece of scrap cardboard (I used a cereal box)
- 6″ x 6″ piece of scrap fabric
- Flat backed jewels
- Glue (I used Eileen’s Tacky Glue)
- Glue gun (optional)
- Bobby pins or barrettes
- Optional bling – feathers, tulle, beads, etc.
 Step 1: Pick your design
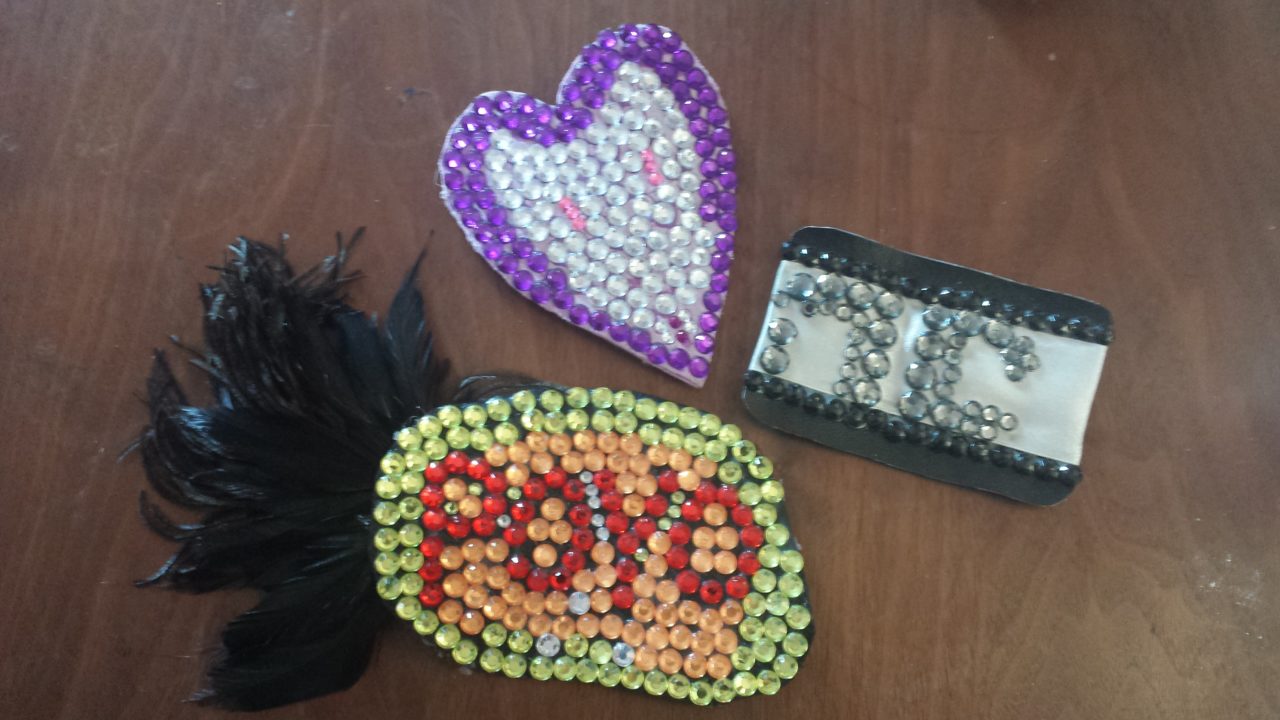
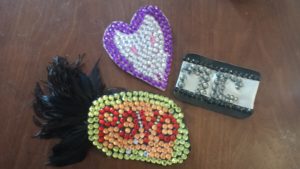
Your geeky fascinator can be anything you want–a word, a symbol, an everyday cosplay color scheme. To inspire you, here are some examples I’ve done:
- The non-compliant letters from Bitch Planet
- The rat symbol from Rat Queens
- An ode to my favorite cybernetic fighting chicken, Poyo, from Chew
Step 2: Create a template
Take your cardboard and draw the shape of your fascinator. If you want a perfect circle, consider tracing a drinking glass onto your cardboard. You can also free hand your design. Once you feel good about it, cut it out. Then, take your template and bring it to your closest mirror. Hold it up to your head to ensure that it’s not too big or too small. If it looks great, continue to Step 3. If it needs some tweaking, play with the cardboard template until you feel good about it.
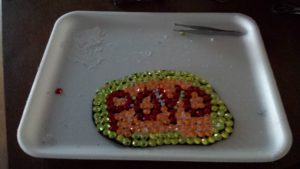 Step 3: Lay out your design

Using the cardboard template as a guide, cut your fabric scrap. When choosing a fabric, use something that’s a little stiff (think vinyl, not satin). Save a couple of small fabric strips to use in Step 5. Once your fabric has been cut, start to arrange your jewels in the design or pattern you want. This step may seem optional, but it allows you to play with the design before gluing. It also lets you see if you have enough jewels of a certain color and how long it might take to glue.
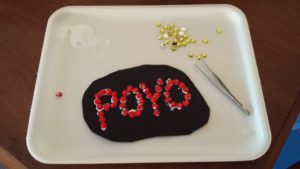 Step 4: Begin gluing

This is the most tedious step, but once you see all those sparklies shining up at you it becomes worth the effort. If you did Step 3, you should have an idea of how long it will take to glue. For reference, my Poyo design took about 45 minutes, but the non-compliant took about 20 minutes. Once glued, let the design fully dry. This could take a couple hours, so take a break! You’ve earned it!
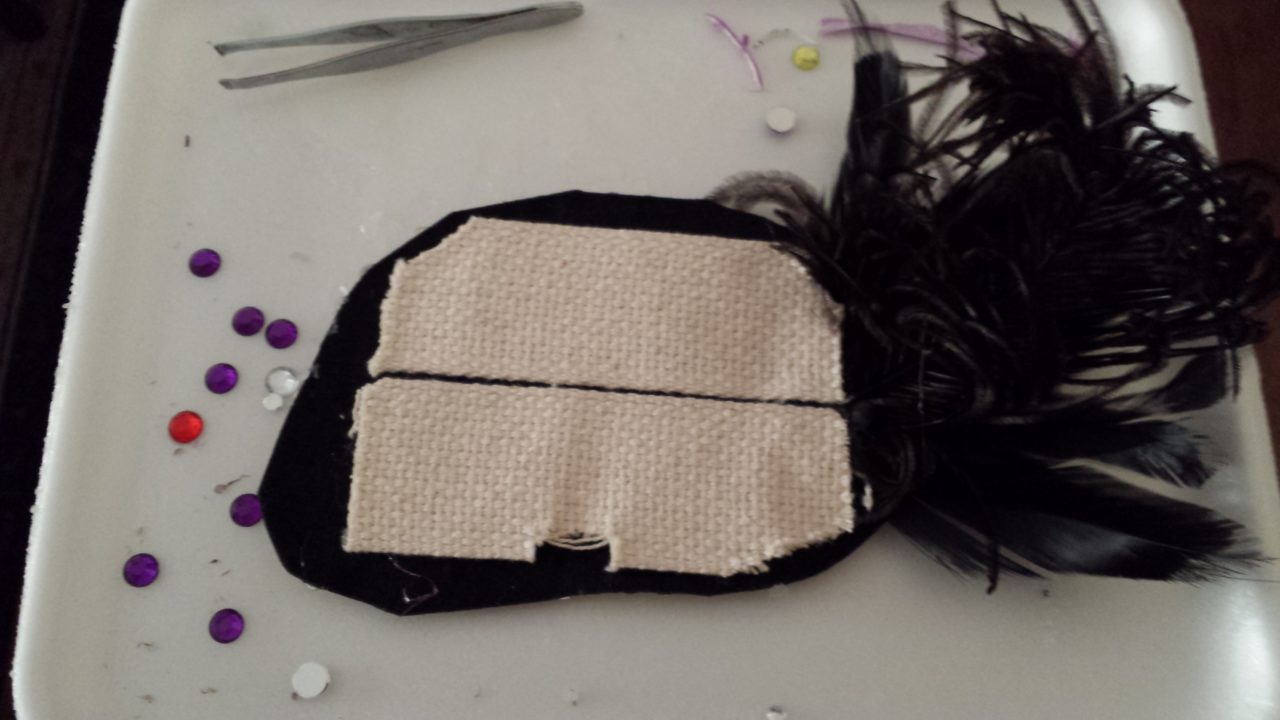
Step 5: Attach the bobby pin straps
 Since the jewels will get in the way of bobby pins or barrettes, adding some straps to the back of the fascinator will hold it in place. Using the strips of fabric you saved in Step 3, glue strips to the back of the fascinator. (I got a little aggressive with the straps on this one.) If you have a glue gun, this is where you should use it. If you are adding feathers, I highly recommend using a glue gun. Tuck the feathers under one of the straps, so they’re sandwiched between the fabric, then glue.
And that’s it! For beginners, it may sound daunting, but don’t worry, it’s not hard at all. With a little patience, you can have your own beautiful geeky fascinator. Remember to have fun and let your creativity shine! If you do make some, I’d love to see the results. Happy geeky crafting!
